Quick answer: what do you need to become a Preply tutor?
To become a Preply tutor, you need to be over 18 and complete an 8-step application form. Besides, sign-up is free, and Preply does not charge you to host your profile. In the form, you also add your personal details, photo, education, profile description, intro video, availability and lesson price. After that, Preply reviews your profile.
First of all, you can find the application form at preply.com/en/tutor-signup. What’s more, Preply saves your progress after each section, so you do not have to finish the form in one go.
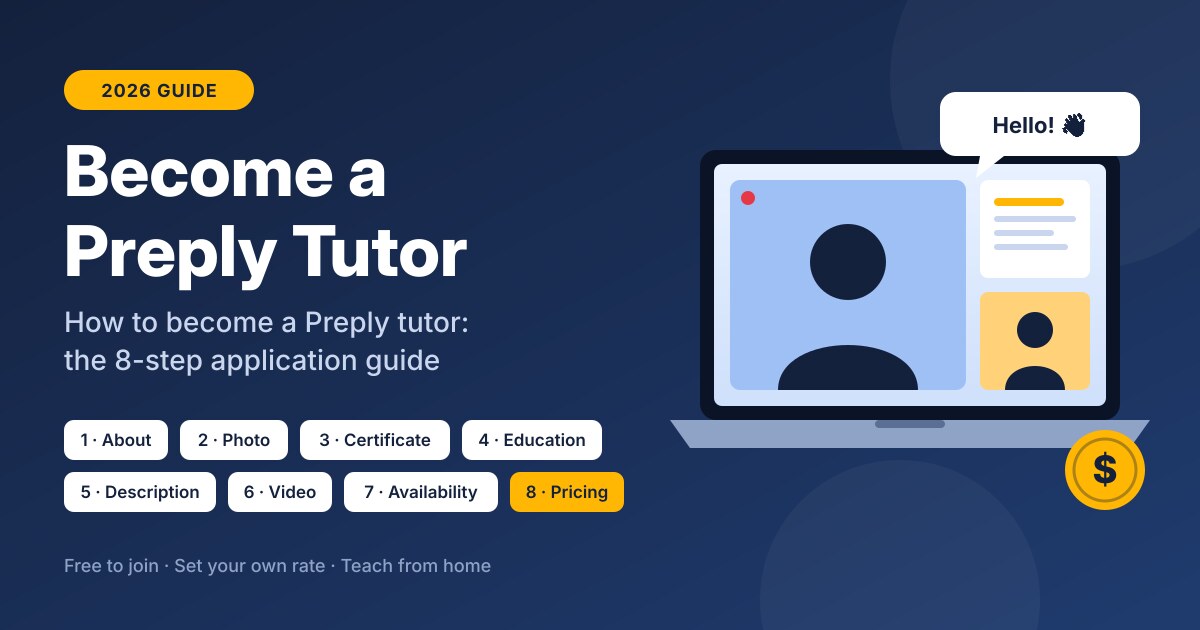
How to become a Preply tutor: the 8 application steps
The application form has eight sections. Therefore, below we explain what to do in each one, in order:
- About
- Photo
- Certification
- Education
- Description
- Video
- Availability
- Pricing
1. About: enter your basic details
To begin with, in the first section, you build the base of your public profile. Specifically, in this step you fill in the following fields:
- Your first and last name
- Your country of birth
- The subject you teach (for example English, Spanish or math)
- The languages you speak and your level in each; you can add more with “Add another language”
- Phone number (optional)
Finally, you confirm that you are over 18. Without this, you cannot move on to the next step.
2. Photo: upload a profile photo that builds trust
Students first get to know you through your photo, so it matters a lot. That is why Preply sets clear photo rules:
- Your face should look straight at the camera.
- Your head and shoulders should be in the frame.
- The photo should be centered and upright.
- Your face and eyes should be clearly visible (unless for religious reasons).
- You should be the only person in the photo.
- Use a high-resolution, color photo without filters.
- Do not add logos or contact details.
Also, a bright photo where you smile makes your profile feel more friendly.
3. Certification: add your teaching certificates
In this section, you add your teaching certificates. For instance, for each certificate you enter:
- Subject
- Certificate name
- A short description
- Issuing organization
- Years of study (start and end year)
In addition, you can upload your certificate as a JPG or PNG file of up to 20 MB. The Preply team then checks your document and adds a “Certificate verified” badge to your profile. Afterwards, Preply deletes the files once the review is over. Moreover, if you have more than one certificate, use the “Upload another certificate” option.
You can still apply without a certificate. However, the badge makes it easier for students to trust you.
4. Education: add your degree and work experience
Next, in the education section, you add your university details:
- University
- Degree and degree type
- Specialization
- Years of study
Similarly, if you upload your diploma as a JPG or PNG file, Preply adds a “Diploma verified” badge to your profile. In the same section, you can also add your work experience. For each job, you then enter the company, your position and the years you worked there.
Experience outside teaching counts as well. For example, an engineer can highlight that background in language lessons for professionals.
5. Description: write your profile text
The description is the most important part of your Preply tutor profile. Then, Preply automatically translates it into the other languages you can teach in. Still, you can edit the translations as you like. Overall, the description has four parts:
- Introduce yourself: Briefly share who you are, your teaching experience and your interests.
- Teaching experience: Describe your certificates, teaching methods and area of expertise.
- Motivate potential students: Explain why students should learn with you and invite them to a trial lesson.
- Write a catchy headline: The headline is the first thing students see. So state clearly which language you teach and who your lessons are for.
Preply also gives two warnings in this section. First, do not share your last name or write your details in CV format. Second, do not mention free trial lessons, discounts or personal contact details. Otherwise, Preply may not approve your profile.
Lessons you offer: levels, age groups and lesson types
Furthermore, during the application, you also define the lessons you offer. As a result, in this section you choose:
- Years of experience: Enter how many years you have been teaching.
- Student level: Tick the levels you teach, from beginner to advanced.
- Age group: Select the groups you prefer, from young children to adults over 40.
- Lesson types: Depending on your subject, you can choose types such as beginner, conversational, intensive or business lessons. You can add a short description for each type.
In short, the clearer your choices, the better your chances of matching with the right students.
6. Video: record a short intro video
Above all, your intro video is the fastest way for students to get to know you. Here are Preply’s video rules:
- The video can be up to 2 minutes long.
- You need to record it in landscape mode.
- You should speak in the language you teach when you introduce yourself.
For example, you can record the video right on the page. Alternatively, you can add a YouTube or Vimeo link. Likewise, you can upload a thumbnail if you want. Your thumbnail should not show your last name, contact details, prices, discount offers or unrelated images. Finally, it needs to be a JPEG or PNG file of up to 20 MB.
7. Availability: set the hours you can teach
After that, in this step you create your weekly calendar. In other words, you mark the days and hours when you can teach. Make sure your time zone is correct, because students book lessons based on this calendar.
8. Pricing: set your lesson price
Lastly, you enter your price for a 50-minute lesson. However, you can only set it in US dollars (USD). Also, on the same screen, you can see the details of Preply’s commission.
If you are just starting out, a competitive price helps you find your first students. Later, as your reviews grow, you can raise your rate.
How much commission does Preply take from tutors?
Preply takes a commission only after you start teaching. According to Preply’s commission page, the model works like this:
| Lesson type | Preply commission |
|---|---|
| First trial lesson with a new student | 100% |
| All later lessons | 18% to 33% |
In fact, the rate for later lessons depends on the total hours you have taught on the platform. New tutors start at the highest rate, and the commission drops as their hours grow. In return, with the trial lesson commission, Preply offers students a free replacement if they are not happy with a trial.
What to do if Preply does not approve your profile
Generally, Preply reviews your profile before it goes live. If it does not approve your profile, first check these points:
- Photo: Does it follow all the photo rules?
- Description: Did you include your last name, contact details or a discount offer?
- Video: Is it in landscape mode, under 2 minutes and in the language you teach?
- Thumbnail: Does it show a price or personal details?
Then, once you fix the issues, you can submit your profile again.
Want to try Preply as a student instead? Take a look at our Preply promo code guide.
Preply tutor FAQ
Do I need a certificate to become a Preply tutor?
No, a certificate is not a required field. However, if you upload one, Preply adds a “Certificate verified” badge to your profile, and students trust you more.
Is there an age limit to become a Preply tutor?
Yes. In short, the application form asks you to confirm that you are over 18.
Which currency do Preply tutors use to set their price?
In fact, you can only set your lesson price in US dollars (USD).
Conclusion
To sum up, becoming a Preply tutor starts with a free, eight-step application. If you follow the photo, description and video rules, Preply can approve your profile faster. After that, the right price and a clear headline will help you find your first students.
Ready? Then start now on the Preply tutor sign-up page.